Want to know how to attach an action camera to your bike helmet? Then keep reading.
When you perform stunts on your motorcycle or bicycle, you may want to have a look at it again. That is where an attached camera comes in. Fixing a camera on your handlebar can work in a way but you would end up with lots of shaky parts in your video. So why not hang it on yourself?
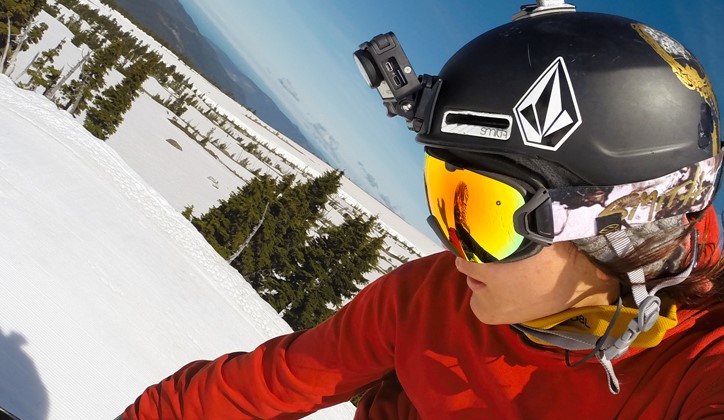
A GoPro is one of the best action cameras you could get. Getting one on your helmet not only allows you to view the road but you can also see yourself as you journey which is even cooler.
Why Should You Attach An Action Camera To Your Helmet?
- The main reason people get action cameras on helmets is to serve as evidence when there is an accident.
- Also, some insurance companies require that riders have one.
- No doubt, it’s fun to rewatch your videos again.
- An attached camera on the helmet is an important tool if you are blogging about bike rides.
So how do you fix the camera in a way that it stays?
How To Attach The Mount To The Helmet
First, you would need the amount on which the camera would stay. Mounts come mostly with two kinds of surface in mind; a flat surface mount and a curved surface mount. When you know how the surface you intend to place the camera is shaped, you can go ahead in selecting the mount.

After getting your mount, there are several ways to get attached to the helmet. But you want to choose a method that would prevent the camera from falling and causing damages even to yourself.
While Velcro is considered a form of holding the camera in large areas, it would fall off if you hit something. Also, superglue might not provide the grip you would need throughout.
So the surest ways to fix the camera would be using the straps that come with it or using a camera mount.
1. A Camera Mount With Straps
If you are getting a bicycle helmet mount, it often comes with straps. After you have selected the position you want the camera to sit, usually the top of the helmet, you pass the straps through the vents. Ensure it is secured and tightened then bring it back up to the center part of the mount.
The camera mount usually comes with safety accessories. You want to make sure that the camera is tightened so it doesn’t fall off.
2. An Adhesive For Stronger Fastenings
The most common way is by using a two-way adhesive or glue to stick the camera to the camera. This glue is often the same type used to hold mirrors also in place. For some helmet mounts, the adhesive mounts come along with them.
First, you select the spot on the helmet where you want the camera to be. The area should be cleaned to remove any grease. Next, apply the adhesive well on the cleaned spot and place the adhesive mount on it.
Once the mount is well fitted, you can put your action camera on the mount. Again, you want to make sure it is well-tightened.
One advantage of using the adhesive is the ease of removing it. When you are done filming, it can be removed by heating up with a hand dryer and then peeled off.
Apart from the adhesive that comes with the mount, some people also try using adhesive foams to hold down the mount to the helmet. The procedures for this are quite similar to when attaching the adhesive mount.
One common hack before putting glue is to heat the area. This is usually done with a heat gun or a hand dryer. With this, the glue should hold up the camera from falling off.
Where To Mount An Action Camera
Where you want to mount the camera determines what method you would use to hold the camera down. Here are common places to mount your action camera on your bike helmet:
1. Top mount
Mounting the action camera on the top of the helmet is the common mount position for bike riders. After mounting on the top, the camera can be placed to face any direction depending on what is to be filmed.
A top mount camera that faces the front gives a higher view. This way, you see things from other people’s points of view. It is perfect because it is less disturbed by vibrations from the bike.
However, this might not work well if you have to go under low-hanging obstacles as those can easily rip off the camera. It could feel heavier on the head and might look funny.
2. Side mount
For helmets that do not cover the full face or head, you should consider getting a side-mounted camera. You would have varied off-center angled views. Videos from the side-mounted camera give a close point of view since the profile is not too high.
Another reason you should consider mounting your camera on the side is if you are considering reduced vibrations or going under obstacles. Also, there is less disturbance from the wind when the camera is mounted on the sides.
You would also want to consider that there are possibilities of seeing part of the helmet and the head in the footage. Also, if you move at high speed, there is the possibility of the wind drag causing the camera to be pulled to one side.
3. Chin mount
Probably the best position for mounting cameras when considering aerodynamics is the chin. There is less drag and you do not feel the added weight on the helmet.
Also, the camera gives one of the best points of view as the video appears to be taken at eye level. You can almost feel you are on the road again.
However, you have to be careful when placing the camera so you don’t end up taking upside-down footage. Also, the chin bar on some helmets is angular making it difficult to install a camera there.
Mounting an action camera can be difficult. But you have to start with having the right accessories and deciding where you want to put them. Once that is done, you can go over your videos anytime.