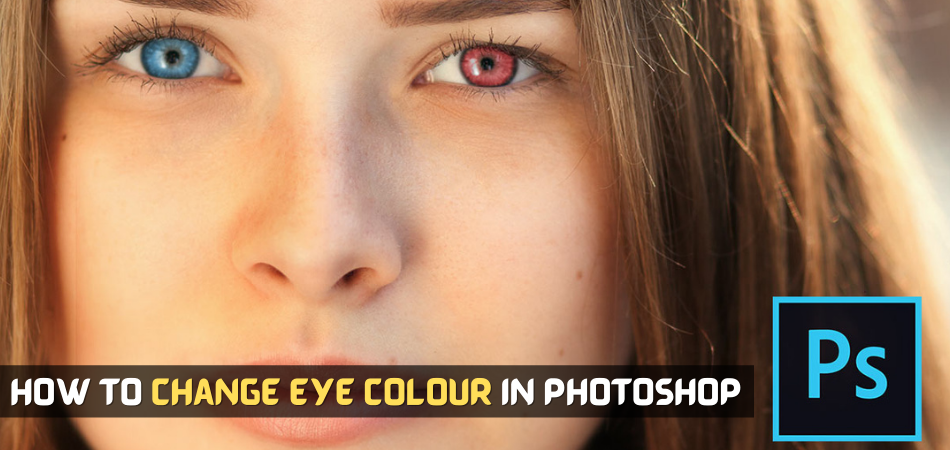
Changing eye color in Photoshop is a great way to spice up an otherwise dull photo or change the character’s look. In this tutorial, we’ll show you how to use Photoshop’s brush tool and the Hue/Saturation function to adjust the color of someone’s eyes. This technique works best on images with good lighting and a neutral background.
How to Change Eye Colour in Photoshop – The 4-Step Process
Step One: Select the Brush Tool from your toolbar at the top of your screen and set its opacity level (the slider below) to about 50%. You can also adjust brush size here as well. Click on the appropriate eye color brush and then click once over each subject’s eyes to change their color in Photoshop. The first time you do this, it will be difficult to see where you’re painting because a white dot covers up the newly colored area. You can switch the foreground and background colors to make it easier.
Step Two: Adjust its opacity level depending on your brush’s light or dark. If it’s too light, you can make the color more saturated by going to Image > Adjustments > Hue/Saturation and clicking on “more” at the bottom of the window.
Step Three: Experiment with different colors! You may want to try a lighter or darker shade than what is provided in Photoshop for an effect that is more natural or dramatic.
Step Four: Once you have the eye color in Photoshop where you want it, click on “OK” to apply your changes and close out of Hue/Saturation window.”
Lightening Eye Colour

Step One: Create a new layer with the selection of your choice. This is for when you want to have eyes that are lighter than they currently are. If this is unnecessary, skip this step and go on to Step Two.
Step Two: With the “Magic Wand” tool selected in Photoshop, click inside one of the eyes to create a selection.
Step Three: Draw another rectangle over the other eye with your “Lasso Tool.” Do not worry about selecting every single part of it because you can fix this in Step Four.
Step Four: With both selections still active on their layer, click the “Blending Options” icon at the top of your Photoshop window.
Step Five: Go to “Other” and scroll down until you find “Exclusion.” Click this new option, which will make one eye lighter than the other.
Darkening Eye Colour
Follow the same procedures as the Lightening technique, but use darker colors.
Lightening Eyes with a Layer Mask
Step One: Create a layer mask on top of your original photo in Photoshop by clicking on the second icon from the left on the toolbar.
Step Two: Right-click inside your layer mask and select “Fill.” Choose whichever color you prefer, such as white or black. Press OK to see Photoshop fill the area under the mask with that new color.
Darkening Eyes with a Layer Mask
Follow the same procedures as the Lightening technique, using darker colors.
Changing Eye Colour on a Stock Photo
If you’re using a stock photo, it’s best to search for a high-resolution image. Once downloaded and opened in Photoshop, the first step is to select the Brush Tool from your toolbar at the top of your screen and set its opacity level (the slider below) to about 50%. You can also adjust brush size here as well.

Click on the appropriate eye color brush and then click once over your subject’s eyes to change their color in Photoshop. The first time you do this, it will be difficult to see where you’re painting because a white dot covers up the newly colored area. You can switch the foreground and background colors to make it easier.
Working with Layers
It’s easier to paint over an image when it has been converted into layers so that you can toggle between different parts of the photo without having to disturb your work in progress. To do this, click on the “Layers” tab at the top of your screen and select “New” from the drop-down menu.
To make sure you paint only one layer at a time, click on the small menu icon at the top of your screen to “show all.” When you’re done with this step, it’s important to take into account lighting and color to make the eye color change more natural.
The next step is duplicating this first layer by clicking on it while holding down Ctrl+Shift (Command+Shift for Mac users) or right-clicks -> Duplicate layer. This will create a copy of the first layer. Using this duplicated layer, paint over the subject’s other eye and change its color as desired.
When you’re done with this step, it’s important to take into account lighting and color to make your work more natural looking.
Conclusion
There are numerous ways to change eye color in Photoshop for personal or professional purposes. This guide has outlined some steps that can be used to change eye color in Photoshop.