There are occasions when you might find yourself with restricted space for a background during photo sessions. In such cases, you can capture your images with a compact backdrop and later enlarge it using Photoshop. Here’s the procedure.
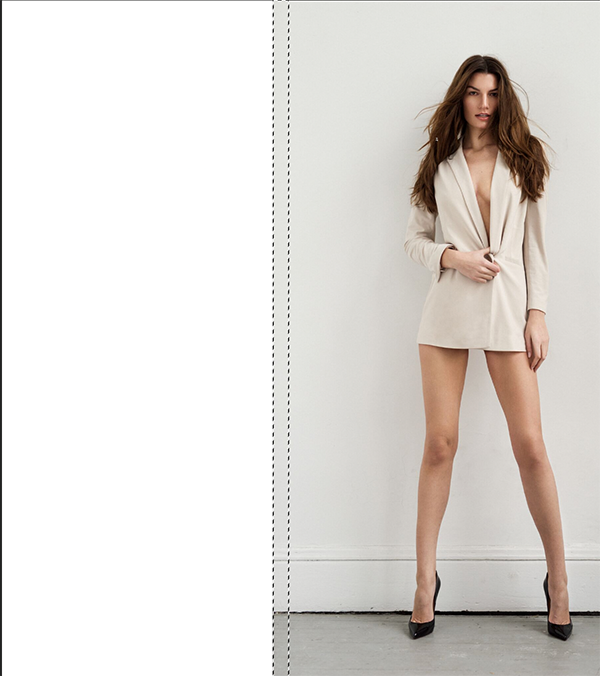
For this exercise, we selected this photo.
The bland backdrop gives us plenty of flexibility to add other elements such as text or props once we finish expanding it.
Setting Up Your File
Open your photo in Photoshop and expand your canvas in equal portions on both sides. Your photo should look like this:
Expanding the Left Side
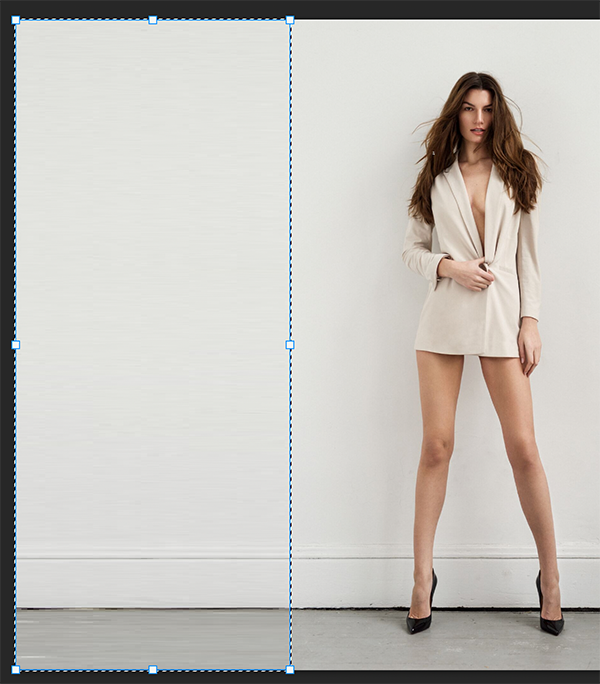
Grab your Marquee tool and select the left edge.
Then go to the Edit menu and choose Free Transform. Grab handles will automatically appear. Before doing anything, you’ll need to ensure that the aspect ratio is not selected in the Options panel at the top.
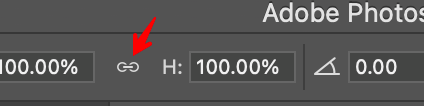
Because if you don’t, what will happen is your expansion will scale proportionately, moving off the canvas. Uncheck that. Then select and hold the middle handle of the Free Transform box. Drag the handle to the left edge of the canvas.
You’ll see that the backdrop is now expanded to the left edge of the canvas. Click Command+D to deselect the expansion.
Expanding the Right Side
We’ll follow the same steps to expand the right side. Once you have finished, your photo should look like this:
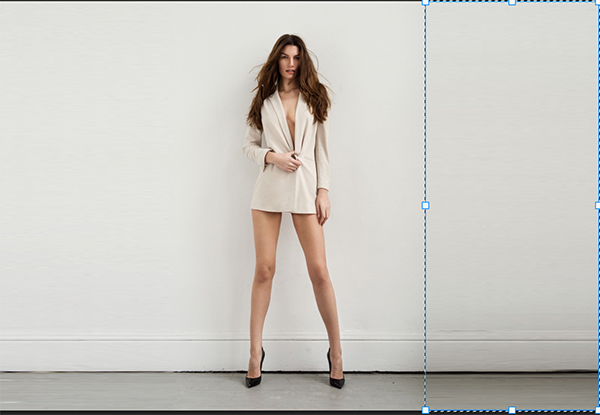
You’ll now have plenty of space to add props and other elements on either side of the model. Let’s suppose that you would like to add more room to the top and bottom so that you can add a slogan at the top and other design elements at the bottom.
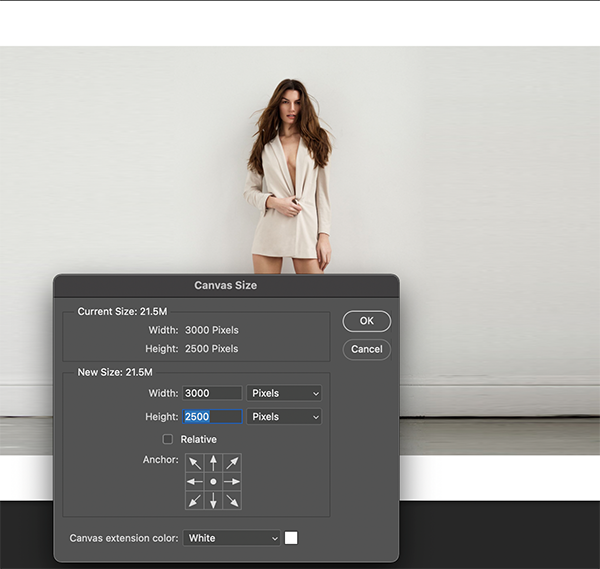
Increasing the Height
We’ll need to change the canvas height. To do that, go to the image and select Canvas Size.
You’ll see the white areas where there is more canvas space available. We’ll follow the same procedures we used to extend the left and right sides of the image.
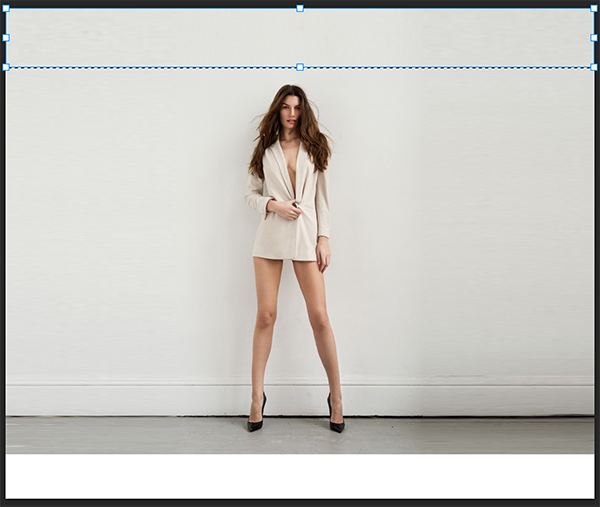
Look at the space between the top of the model’s head and the top edge. If you need to expand further, resize the canvas and repeat the same steps.
Solid backgrounds are much easier to expand than textured backgrounds. Notice the floor’s texture and how the expansion looks distorted. Here’s a close-up to see what we’re talking about.
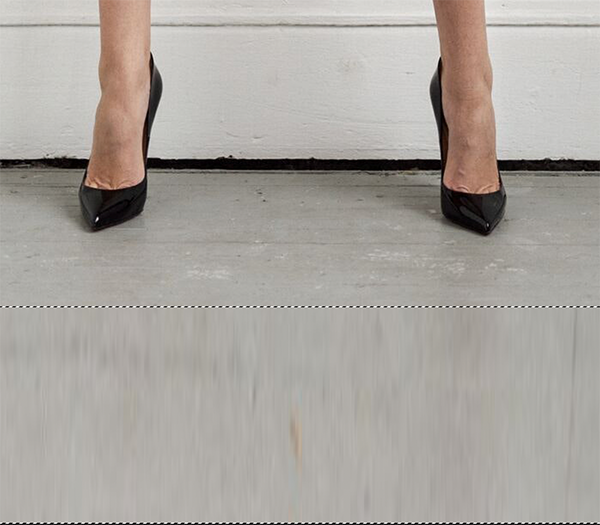
Notice how the texture moves vertically in the extended section instead of horizontally. When this happens, press Command/Control + Z to undo the expansion.
The Free Transform will not work for the floor because there is too much detail, including the shadow that moves vertically on the right side of the image. We’ll need to make copies of the floor and carry them in place, so everything looks natural.
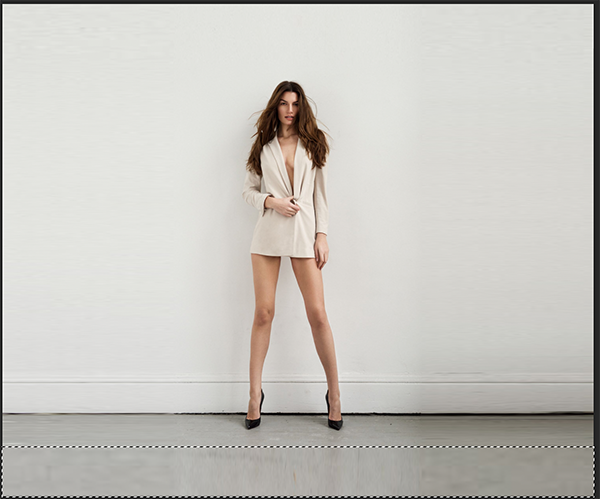
Grab the Rectangular Marquee tool and select the bottom edge of the image.

Zoom in to get a better view. Then grab the Move tool, press Option + Shift, and drag a copy down. See what the image looks like. Look for repeating elements that make the image look spliced and copied. If this happens, you can try using the Clone tool to expand the floor naturally.
Using the Clone Stamp Tool
Step 1: Create a new layer above the image.
Step 2: Click on the clone tool and increase the brush size until you get the coverage you need. Option + Click on the source you want to clone.
Step 3: Press and drag the brush, paying close attention to where the Plus sign moves. In our case, we don’t want to clone the model’s feet or the wall’s baseboard. As a result, we had to use the Option + Click multiple times to clone the right areas.

This is our result:
You’ve learned how to expand your image on all four sides. Practice this technique with other photos. The more you do this, the faster you’ll get.
Frequently Asked Questions
What Are Other Ways To Create A Smooth And Seamless Backdrop In Photoshop?
There are several methods to achieve this effect. One method involves creating an alpha channel mask over the entire image. You’ll be able to paint any color on it if it doesn’t touch the original image. This will allow you to fill up the area behind the subject without affecting the rest of the picture. Another option is to duplicate the Background Layer and apply some filters to it.
What Types Of Backgrounds Can You Expand In Photoshop?
Any background can be expanded. It just depends on whether or not they have textures. Textures include anything from wood floors to brick walls. Some people even add shadows to their backdrops.
What Is The Fastest Way To Expand A Textured Backdrop In Photoshop?
If you know exactly which part of the image needs to be expanded, you should probably crop out the unwanted parts first. That would save time when expanding later. However, if you don’t know which part needs to be cropped, then we suggest doing both. Cropping out the unnecessary parts before expanding allows you to focus only on the important details.
How Do You Extend An Object In Photoshop?
It depends on the shape of the object. For example, if you’re trying to stretch a rectangle across the whole canvas, you can click once at each corner and hold Alt while dragging. But if you were stretching something circular, such as a circle, you might have to rotate the object by 90 degrees.
In either case, remember to keep holding Ctrl while moving the mouse around. Otherwise, you may accidentally change the rotation angle.
How Do You Stretch Part Of An Image In Photoshop?
The exact process applies here. Move the cursor along one side of the object and hold Alt while clicking. Repeat the process on the opposite side, if necessary.
How Do You Extend Patterns In Backdrops So That They Look Natural?
To make sure the pattern looks realistic, try duplicating the layer containing the pattern. Then select the new copy and press Shift+Ctrl+Alt+E to convert it to an intelligent filter. Apply whatever filter you like.
How Do You Use Content-Aware To Extend A Backdrop In Photoshop?
Step 1: Create a selection using the Magic Wand tool. Make sure that there aren’t any objects inside the selection. If there are, delete them manually.
Step 2: Press Command/Control-I to open the Info window. Check “Use Masking Mode for Selection” under “Selection” and set its value to 100%.
Step 3: Select the content aware checkbox under “Masking.” Click OK. The magic wand now uses your selection to create a mask automatically.
Step 4: Use the Brush Tool with white foreground color to erase all areas outside the selected region.
Step 5: Fill the resulting space with black.
Step 6: Save the file.
How Do You Extend Backgrounds, Using Photoshop For The iPad?
You’ll need to download the app called PhotoPaint Pro. Choose the project template named ‘Background.’ On the next screen, enter the name of your document and hit Next.
On the following page, choose the size of your document, and drag the slider until the desired resolution appears. Finally, tap Continue.
Now you will see two layers – Background and Foreground. Drag the Background layer down below the Foreground layer. To remove the original background, double-click the Background layer.
A dialog box opens where you can choose between several options. Tap Remove Original Background. Your photo has been extended!