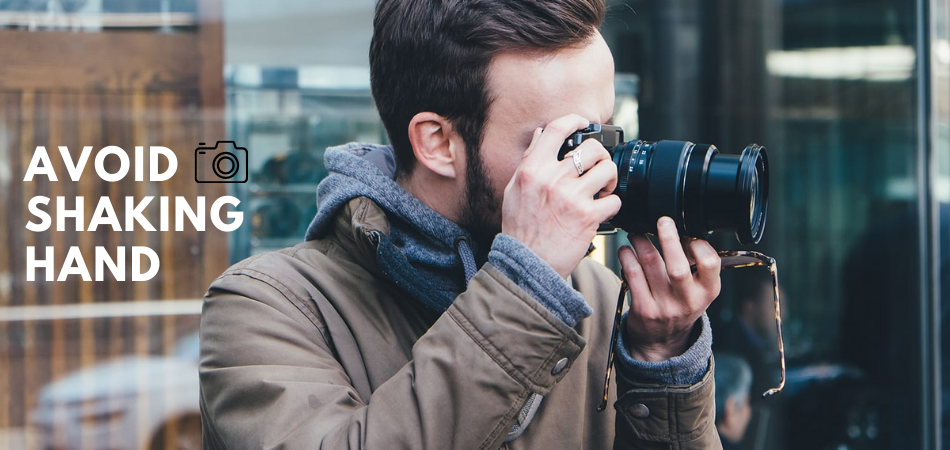
Shaking hands leads to what is called camera shake. When holding the camera, you can ruin your shot if you cannot hold it steady. However, you can fix this problem by taking steps to reduce or eliminate any camera shake. Most cameras do come with some stabilization features, and if you take the proper precautions, you won’t have any trouble.

1. Use a Tripod
One of the best ways to stabilize your camera is by using a tripod. A tripod can make a big difference if you notice that you are having trouble keeping the camera steady. If you are traveling for your photography, they have small or lightweight tripods that are easy to take with you. It will eliminate any lingering camera shake so that your photos are crystal clear.
2. Change Your Shutter Speed
You can also change your shutter speed if you are getting blurred from the camera shake. You should use the fastest possible shutter speed to reduce any blurring. If you are shooting with low light, you can also increase your ISO because it will help you take photos with a faster shutter speed. Some cameras don’t take great pictures when you increase the ISO, so you will want to have your tripod with you if this is the case with your camera.
3. Try Using a Remote Release
You can trigger your shutter without pressing the button when you use a remote release. Pressing that button causes the camera to shake for some people. There are different options depending on which camera you have. Some let you connect your smartphone or tablet to trigger the shutter, which is the same as using a remote. You can also use the self-timer for your camera. You will still be holding the camera, but it will trigger the shutter without your having to press down on the button.
4. Practice Your Breathing and How You Stand
How you stand and breathe can also cause shaking when holding your camera. You need to consider how you are holding your camera as well. You should hold it with both hands closer to your body and keep your feet about shoulder-width apart. This is the best position to remain steady while you shoot your photographs. If you are looking at the screen to compose your photo, hold your elbows close to your body. This helps keep your camera steady when you take the picture.
Finally, learn how to be aware of your breathing. Many suggest that you draw a deep breath and hold it while taking your photograph. Then, you can exhale. You can reverse this as well. However, this won’t work for longer exposures, so be aware of how you are breathing to minimize camera shake.
5. Find an Object to Use for Support
If you are out taking photos, you may not have a tripod. You can find a tree or a wall and use it to hold your camera steady. Make sure you use the built-in level on your camera to keep your photos straight. You want the horizon straight so that your photo will be level. Some people take a beanbag with them when they shoot for long periods, and they level the camera in the bean bag to hold it steady.
6. Focus on Your Shoulders
You can raise your left shoulder to reduce the camera shake. If you use your right eye, you need to switch to your left eye to do this, and if you use your left eye, you can continue to use it. It works by raising your left shoulder up as high as you can and laying your left elbow against your rib cage. You can also pull your right elbow toward your chest for added stability. Ensure you exhale completely, and then press the shutter release button. This will help you reduce camera shake.
7. Create a Knee Tripod
You might find yourself without a tripod or another support to hold your camera. This technique is best when you are shooting objects close to the ground. You will sit down on the ground and pull your knee up. Place your elbow on your knee, and bring the other elbow into your rib cage for additional support. You are making a tripod out of your body, and it will provide you with good support to keep your camera steady.
8. Try Lying on the Ground
If your shot allows, lying on the ground is one of the most effective ways to prevent your camera from shaking. You lie flat on the ground and let your lens sit on the Ground. You can place one hand underneath the camera and the lens to ensure it doesn’t tilt down. Some people make a fist to lift the camera off the ground a little way. This technique won’t work for a shot of an object high up off the ground because it will produce a low angle. It could also be uncomfortable, so make sure that this is a viable option before you try it.
9. Hold Your Camera Over Your Elbow
Some people refer to this as the machine gun hold because it is how you would hold a machine gun with a long barrel. You will take your camera up to your eye with your right hand and then lift your left elbow in front of you so that your legs can rest on it. You can take your left hand and put it on your right upper arm. You probably won’t be able to hold this position for long periods, but it will help you get a stable shot when needed.
Final Words
If you have trouble with a camera shake, there are a lot of different tricks you can use to stabilize your camera. Go through the list above, and try out different methods to have them in your arsenal when you need them.
