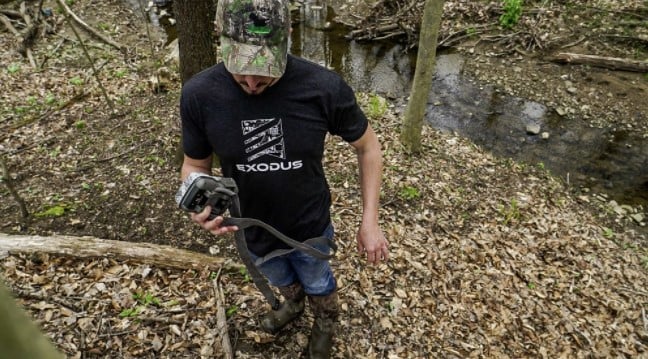
Have you ever wondered sometimes, when using your trail camera at events, why the SD card is empty? This occurrence has led to frustration for most photographers and video enthusiasts who hope to make a living via their trail cameras.
Usually, numerous things could go wrong with the trail Camera. Here is a detailed checklist of issues that could have affected your trail cam and what solutions you should consider.

Why is My Trail Camera Not Taking Pictures?
Wrong SD Card
With the emergence of digital technology, came numerous digital storage devices. A good example is the Scandisk which was launched in 2003 to cater to people who want their files and documents safe.
This Scandisk comes in various capacities ranging from 32 MB to 1 terabyte. It is pertinent to note, however, that not all SD cards can work effectively with any camera or card reader.
This is because of the various FAT formats which they use. While some come with FAT 32, others come with FAT 16. Read carefully your trail Camera specifications before buying the recommended SD cards that would be compatible with them.
When your SD Card becomes Full
All storage devices have a certain limit which they can store videos and pictures. However, new generation cameras have features where you can continue taking footage even when your storage device is filled.
This poses a problem for photographers because sometimes, they are unaware that their memory and SD cards are filled. When you discover that your Card cannot take any information again, there are certain things you could consider.
You could reset your image quality to a lower resolution which would allow your files to have smaller sizes, however, the pictures won’t be top quality. You could also buy larger and better SD cards for your trail camera from the available stores online.
Unformatted SD Card
When you purchase a new SD card, it is recommended to clean it before usage. Formatting an SD card means clearing all files or hidden cookies and creating more space to be used.
This will make more room for images or videos to be stored. When formatting your card, kindly choose deep formatting which takes longer, but proves effective.
Moreover, SD memory cards must be formatted with the device they intend they use or transfer files from. Refrain from cleaning your card multiple times.
Flat Batteries
There is nothing more annoying than getting to know that your new trail camera has a dead battery. It becomes more frustrating when you know that a scene or image you want to snap has gone forever.
However, with dead batteries, here are some suggestions you can use. Firstly, immediately change your flat batteries to lithium. This is because lithium batteries are known to last longer irrespective of your camera.
Have it at the back of your mind, though that they are more expensive than alkaline batteries. When changing batteries, avoid contact with your mouth and clear battery Chambers to remove all traces of corrosion.
Camera Settings
With the several improvements made in a trail camera, it can become a little tricky even for professional photographers. When you discover your camera ain’t taking pictures again, the issue might be from the settings.
Many Camera Manufacturers include the option to return their product to factory settings, which might be your best bet. You could also take your time to read the trial Camera manual carefully.
Often, when the camera doesn’t snap pictures, the problem could be from mode detection settings.
Triggering problems
When the batteries are good, the camera is in the right settings and the storage cards are functioning well, there might be an issue with the triggering system.

If this is related to a mechanical fault, there is nothing you can do, then contact the manufacturer or Camera repairer.
However, this should be the last option because some cameras are affected by air temperature which may affect detect mode. All trail cameras use infrared motion to push the trigger.
This can harm how the camera functions. You might want to get a good covering from your nearby store to control the temperature.
Excessive Glare
Sometimes the camera might even take pictures, however, the pictures are blurred and fuzzy, then it could be a solar issue. The sun glare sometimes makes your pictures look useless because of the direct glare on the lens.
If you discover this is the issue, change the position of your camera. It is advisable to go to a spot that is covered with shade. Most professional photographers recommend using trees’ shade to avoid glare. Avoid placing your lens directly to West or East.
Wrong Camera position
Many individuals put their trail cameras on high grounds to stop theft, however, this has its issues. When a trail camera is placed 12 feet (3.66 m) above the ground, it will likely trigger detection from moving animals.

For great results, position the camera at eye level. If your concern is theft, you could consider buying a lockbox or python lock wire. Also, don’t be fooled by the manufacturer’s claim on distance, check to see which is the best position to get quality pictures.
False triggers
Sometimes you can get a great picture quality on land scenes but few with animals, when this is the case check the area. If problems persist, and you are sure it isn’t a foliage issue, clear your area.
Conclusion
For those asking, the question ‘Why is my trail camera not taking pictures? Here is some extensive information which could be the issues, and we have provided solutions to help you.
