It’s likely that you’ve come across the advice that for landscape photography, a CPL filter is an essential tool for your camera. It enhances colors vividly while eliminating bothersome reflections.
But what is a CPL filter? And does it fit your artistic intention? This article delved into the CPL filter, how to use it, and when not to use it. So read on to learn more.
What is a CPL Filter?
CPL stands for Circular Polarizer. Circular in this context refers to the filter’s method to achieve polarization. It differs from older linear polarizers, which do not perform well with modern camera metering and autofocus systems. Any camera with autofocus qualifies (AF).
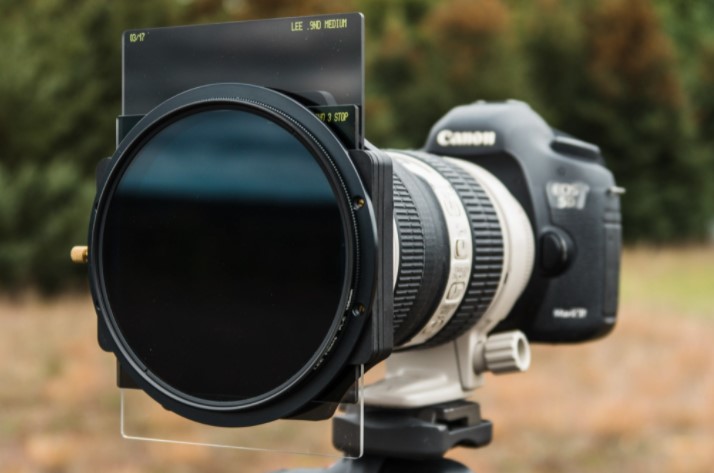
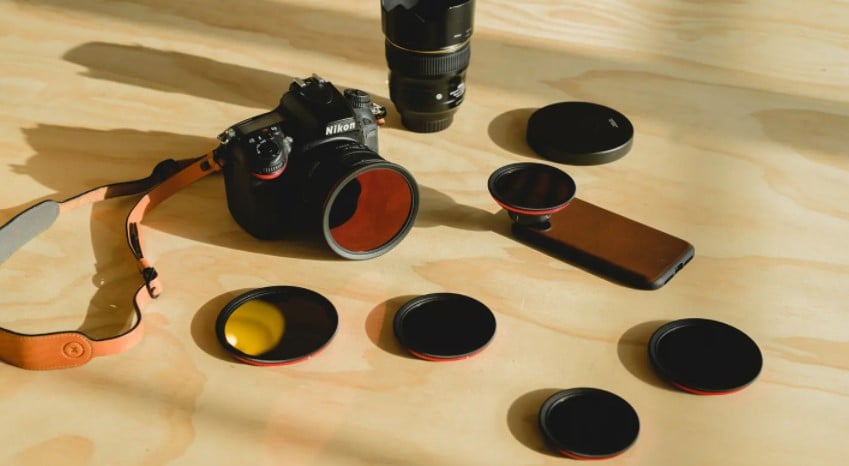
A CPL filter consists of two specialized glasses that can be inserted before a camera lens. You can rotate each of the glasses to achieve the level of polarization you need.
Effects of a CPL Filter
Eliminate Reflection
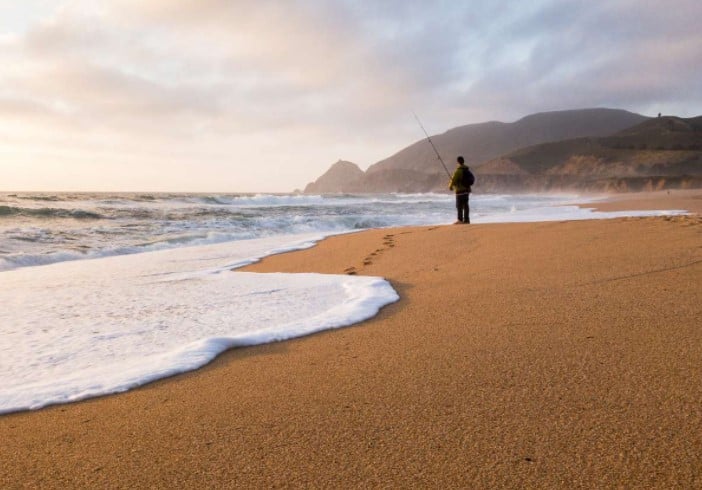
A polarizer works by blocking scattered light from entering your camera. It allows you to control reflection on any non-metallic surface. And this is where it benefits nature photographers.
For example, if you try to capture images of wet rocks, you’d be surprised how much reflection the water adds to the rock’s surface. But a polarizer takes the reflection off the rocks to give you increased clarity and color saturation.
Intense Skies
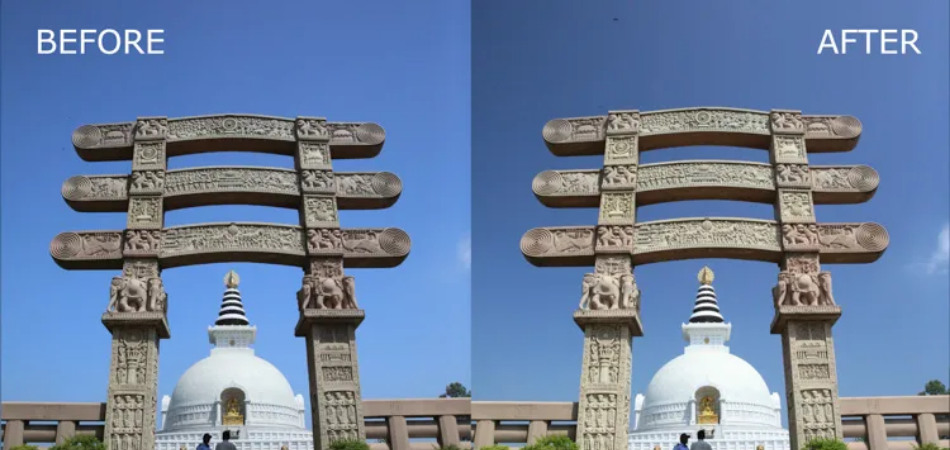
Most people who use a CPL filter use it to get intense or darker hues for the skies. It’s more so when there are no clouds and the atmosphere is overly bright, so you need a CPL filter to give you a royal blue sky hue.
So, if you’re shooting cityscapes and the sky is in view, a polarizer helps to enhance the other elements in the frame.
Removing Haze
A CPL filter is the perfect solution for a hazy atmosphere. It brings more clarity and contrast to what would, otherwise, be a flat image with no details. It gives you more definition than you would get when using polarized glasses on a cloudy day.
Boost Color Saturation
Vegetation, rocks, and elements of nature can always benefit from deeper saturation. It gives deep blue skies and intensifies the green color of foliage. A CPL filter also removes the white glow from leaves, usually by incandescent light. The result is a nice, even, green color.
Why Not Fix Reflection And Saturation In Photoshop, Instead Of Using A Cpl Filter?
You would be forgiven for thinking you can capture reflection and get away with it. Sometimes, reflection gives you a fantastic image like a sunset or a mountain range in the water.
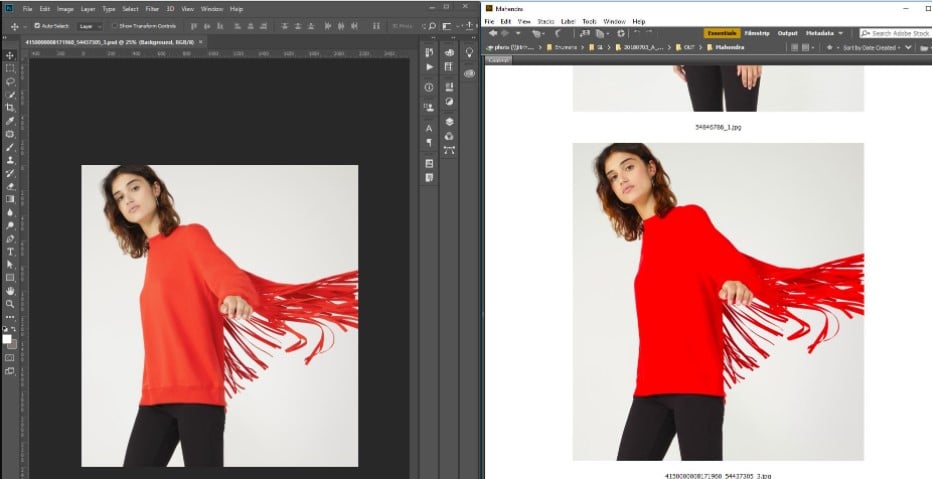
But most of the time, when you shoot an image without a CPL filter, you’ll capture the reflection but not the information under the reflection. Sadly, you can’t fix the lack of details in photoshop.
How To Use a CPL Filter
Mastering photography with a polarizer takes practice. But getting started shouldn’t be hard.
Step 1. Get a Good CPL filter
Purchase a high-quality, usually high-end, for a great job. And then check the back of your lens cap to get the correct CPL filter size.
Step 2. Connect the CPL Filter
After you’ve attached the polarizer, rotate it to adjust and dial in the exact amount of polarization you need for your image. After you spin it, you’ll be able to see the effect on your viewfinder.
Step 3. Take Multiple Shots
Since you don’t usually know what polarization is ideal for a particular scene, it’s best to shoot several images with different levels of polarization. Then you can pick the ones you like on your computer.
Where Can You Use a CPL Filter?
Shooting With Blue Skies
We mentioned earlier that a CPL filter is mainly used to increase the intensity of a blue sky. So, let’s get into the details.
Blue skies mean there’s lots of sunlight. For best results, you’ll want to use a polarizer when you’re pointed 90 degrees away from the sun. It will not work when you’re pointed directly at or away from the sun.
Here’s a trick we use to nail down this position.
Make a little “L” or “gun” with your thumb and index finger and point to the sun. Then, rotate your arm back and forth. The thumb will point to the best areas of polarization.
A CPL filter will also work on a hazy day to clear out scenes for clean landscape shots.
Cityscapes
The intricate shape of city skylines creates stunning shots. However, capturing an impactful cityscape photograph is not easy. A CPL filter can remove road glare, reflection from water bodies, and haze from distant objects. It can also make the sky more vibrant.
Rain and Overcast
A CPL filter will cut through the glare and reflection of vegetation and rocks, giving you better color. Even if you see all the green on foliage and trees, you also see many reflections.
You put a CPL filter on the lens, and suddenly, you get fantastic shots as you eliminate subtle reflections. Take that photo on wet rocks and leaves; your image is off the charts. Water adds saturation, and the results are fantastic when you knock off the reflection.
Plus, there’s no need to be 90 degrees from the sun since the clouds are already blocking the sun.
Waterfalls
Some degree of polarization works amazing when shooting images of a waterfall. You cannot only control the amount of reflection coming from the rocks and leaves, but you can also manipulate what’s visible under the water.
Still, you’ll want to take shots at different polarization levels, choose the best post-processing, and blend them in photoshop.
What to Consider Before Using a CPL Filter
CPL Filters Cut Light
A polarizer will eat about two light stops when turned to its most potent effect. For example, if your camera settings are at 1/1000th, f/16, and ISO 100, a CPL filter will decrease exposure by two stops.
So, to compensate, you need to:
- Open up the aperture from f/16 to f/8
- Slow down shutter speed to1/250th from 1/1000th
- Increase ISO to 400
CPL Filter Causes Uneven Polarization with a Wide-Angle Lens
When you use a polarizer on a sunny day with a wide-angle lens, you’ll discover that some parts of the frame have weak polarization while others have intense polarization. Hence, you may see the uneven color tones of the sky.
Thus, avoiding a lens wider than 24mm is best if you’re shooting blue skies. If you have to use a wide lens, it’s best to go for thin polarizers. Although expensive, they save you from the vignetting that happens when you use a wide lens with a standard CPL filter.
Nevertheless, you can prevent uneven polarization by shooting on a cloudy day.
When Not to Use a CPL Filter
Multi-Shot Panorama Images
Avoid using a polarizer when taking panorama shots. It usually ends up with blotchy images of skies that are not good at all.
Keeping Amazing Reflection
Sometimes a lake can give off a fantastic reflection on its surface. For such shots, you should consider skipping a CPL filter.
Capturing Wetness
When you want leaves and rocks to look wet, a CPL filter will make them challenging to capture. But a null effect often helps you distinguish between a damp and dry surface.
Final Thoughts
A CPL filter is an excellent addition to your camera when you want help with exposure. It can cut reflections and give you increased clarity; the effects are magical in some scenes. To use one, get the right fit for your camera, nail down the ideal polarization, and take the shots. It’s as simple as that.
So, do you want to take your photography to the next level? A CPL filter will do it for you.
